More and more people are choosing to prepare their own product photos used in online stores and auction sites, as well as to promote small local businesses. All it takes is a few additional accessories and a ministudio can be created even in a small room. Today we will look at all the necessary tools needed for product photography.
From this article you will learn:
- what sub-genres of product photography are divided into;
- how packshot differs from lifestyle product photography;
- how to prepare your workstation;
- what you will need when creating a ministudio;
- what lens will work well in product photography;
- what lighting helps create good product photos;
- what light modifiers you should use;
- how to take product photos in small spaces.
Why should you learn to take product photos?
If you want to turn your photography hobby into a business, in these times of the increasing popularity of online stores, product photography may be a good idea to develop your own business. Or maybe you are into handicrafts that you want to properly present to your customers, but you don’t have the budget for professional photographers? Try setting up a small workstation on your own, which will allow you to polish your craft and will surely give you a lot of satisfaction when better and better photos start coming out. In product photography, you don’t have to worry about the movement or mood of the model. Thus, by following the right rules, you can not only quickly learn the workshop, but also automate the process of taking pictures once everything is set up and you only make minor adjustments while changing the subjects you are photographing.
Types of product photography
Before we get into practice, it’s worth reviewing the basic division of product photos. They have different uses in marketing but also require slightly different plan preparation.
Packshots
Product photos referred to as packshots are those that require the author to minimally engage those parts of the brain responsible for creativity. Instead, it will be a treat for perfectionists who love cleanliness and minimalism. This is because packshots are photos that show products against a solid background (usually white). These are the kind of photographs we most often see in online stores. The customer is supposed to see exactly the product he or she is buying, without any extra fireworks.

So where is there room for perfectionism? Packshots require precise light positioning to negate the presence of shadows. Choosing the right background, as well as properly synchronizing the camera with the lights will be key here. Additional fun is the post-production stage. In graphics programs, any imperfections are corrected to expose the product in the photos without any dirt or shadows. Repeatability is also important for packshots. If photos of similar products (or even the same products, but from a different angle) have different color saturation, this can create uncertainty in the customer about what he or she really wants to buy.

Lookbook
Although the name is primarily associated with the fashion industry, lookbooks are increasingly being created for products used, for example, for home decoration or in the kitchen. Here you can certainly let your creativity run wild. A lookbook can depict a product in a setting that would be natural for it in everyday life, but this is not an ironclad rule, so you can successfully experiment. The photographer’s job is to create product images that evoke specific emotions in the viewer while building a specific brand image.
Advertising
In lookbooks, the main thing is to evoke some kind of impression related to the brand or product. In the case of advertising product photos, the most important thing is to direct the viewer’s attention to specific features and distinctive qualities of the photographed object. For example, sports shoes in a lookbook can be shown in a distinctive color palette, against the background of an urban mural, combined with modern sculptures, on which the dynamics of movement are captured. All of the clothes from a given collection will be presented in the style that the author came up with, balancing somewhere on the border between realism and fantasy, but emphasizing that the brand is bold, created for people who are not afraid of experimentation. In the case of advertising photography, we will rather focus on the ergonomic foam sole, which bounces off the ground in a dynamic way, crushing the asphalt and emphasizing the durability of the shoes.
Product photography: preparations
We’ll get to the most important thing in a moment – all the necessary tools. However, let’s stop for a moment at the very products we will come to photograph. In product photography, details are important. The product must look perfect, so, before you take the first photo, you must be sure that the subject is perfectly clean (unless hours of pollen removal at the digital processing stage is your way of relaxing).
It’s a good idea to have cotton gloves with you on set, so you won’t get fingerprints on your products. A microfiber towel will also come in handy, as well as a special roller, which is used on a daily basis to remove animal hair from clothes. It’s also worth thinking about a can of compressed air or a high-powered pocket multifunction blower. When it comes to cleaning products, be very careful and match the chemistry to the products being photographed properly, so as not to damage anything.
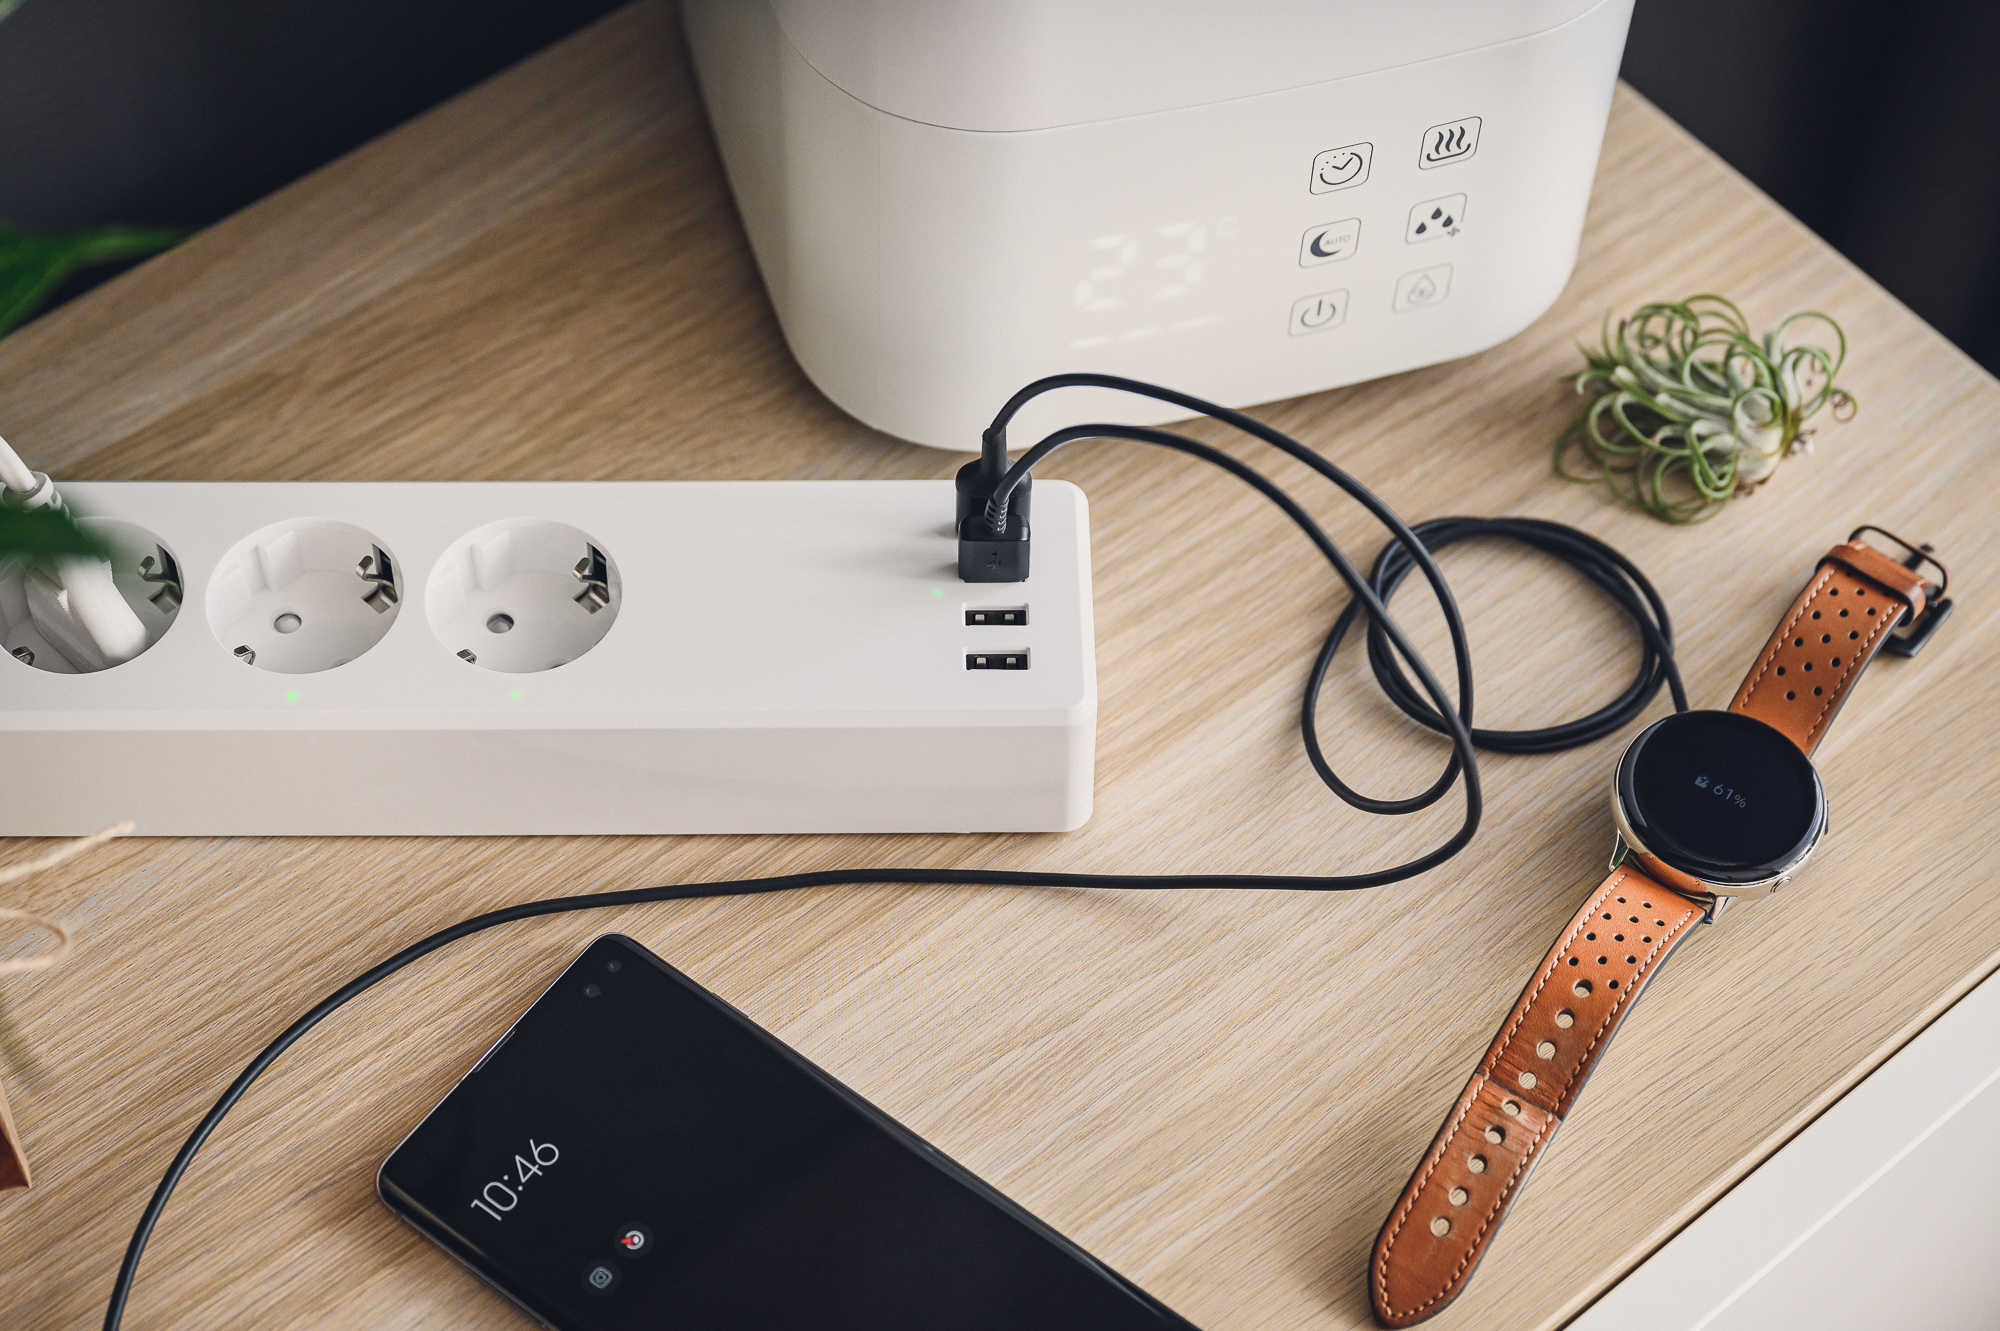
Product photography: what will you need?
Finally, we come to what is most important – a set of necessary tools and accessories. Keep in mind that you will not need all of them right away. You can develop your ministudio slowly, as your skill level increases.
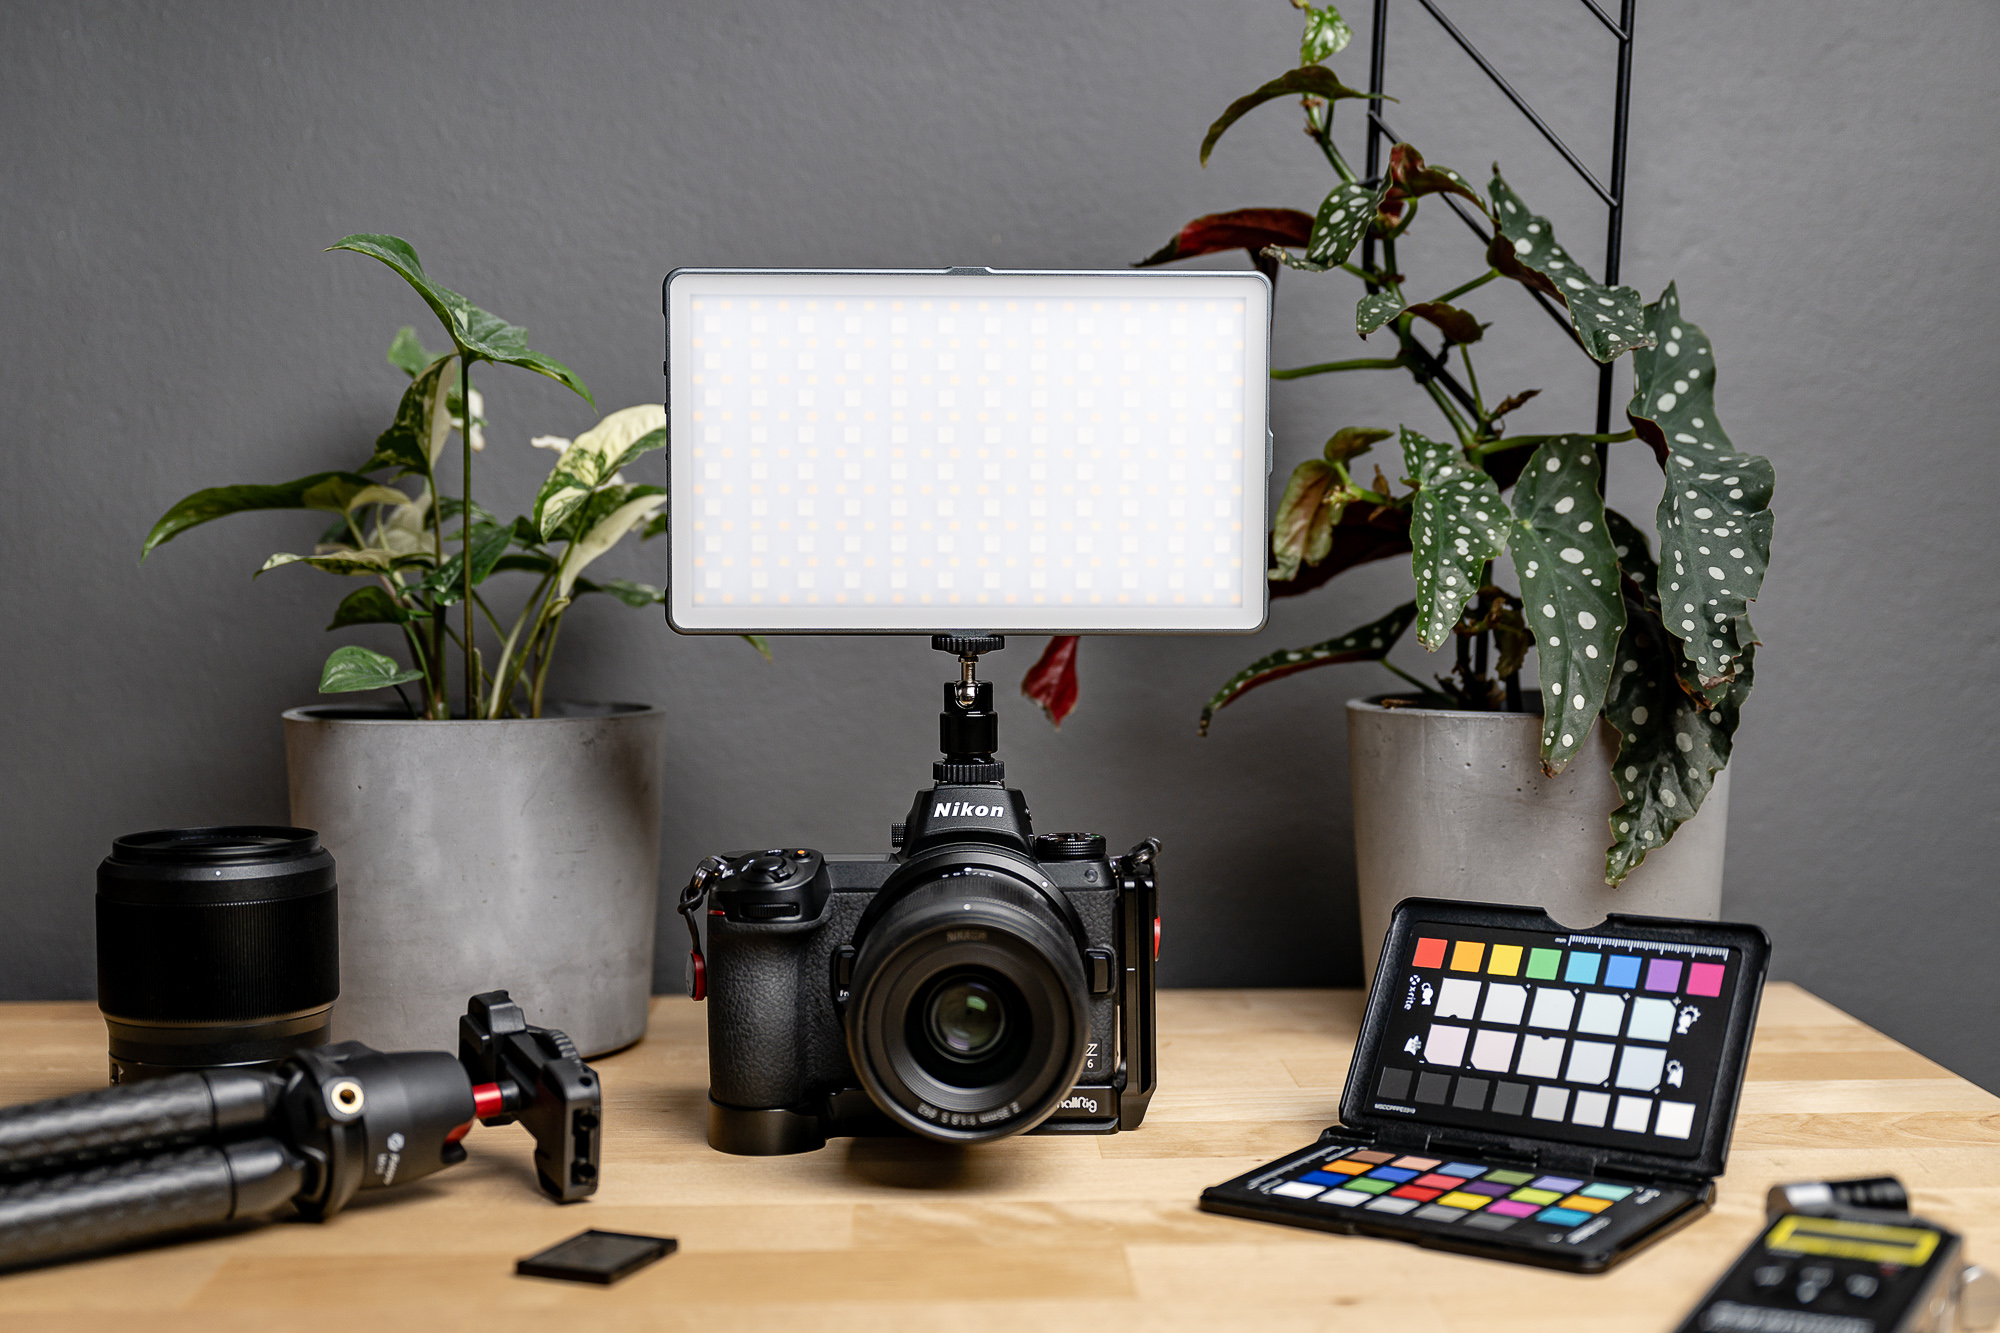
Camera and lens
We are not going to particularly dwell on what kind of camera you need to buy. If you are just starting out, a smartphone is just as good an option. A full-frame DSLR with interchangeable optics will, of course, provide the best results and full control over your photos, but not everyone can start at that level.
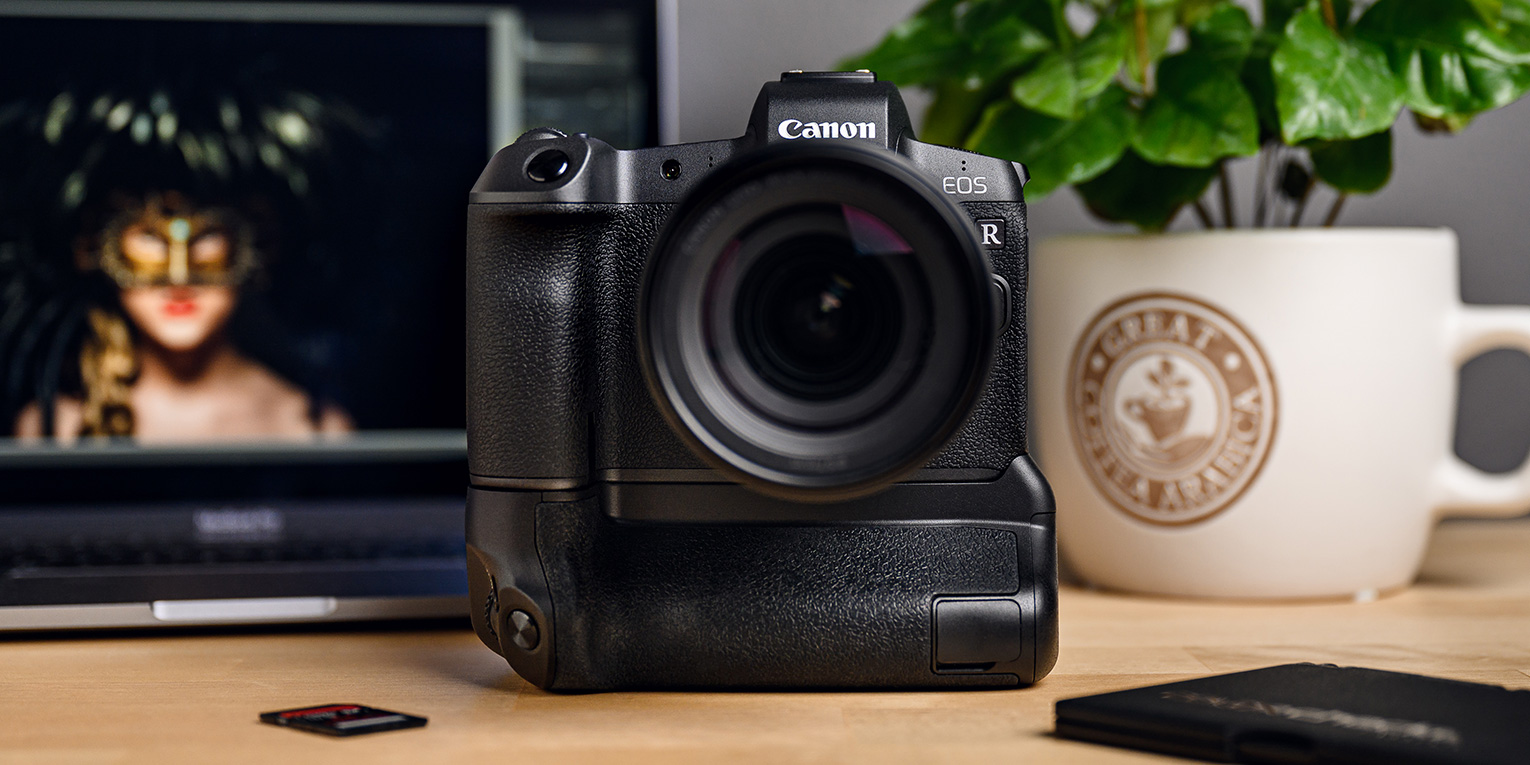
As for the lens, a great option to start with will be a 50mm focal length. This is a classic portrait lens, which is characterized by an image that is close to what the human eye registers. So we can assume that the photographed products will not be distorted. Thus, photos taken with a “fifty” will be the most natural and will best reflect the real appearance of the products.
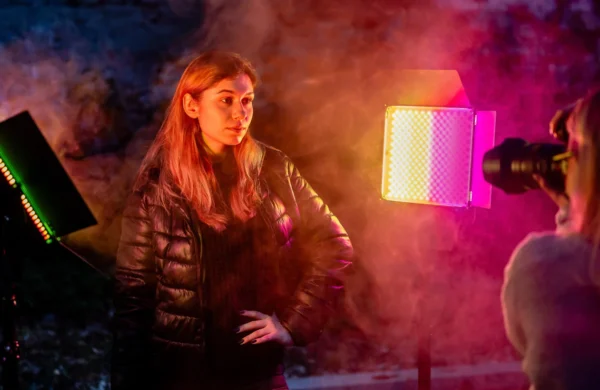
Lighting
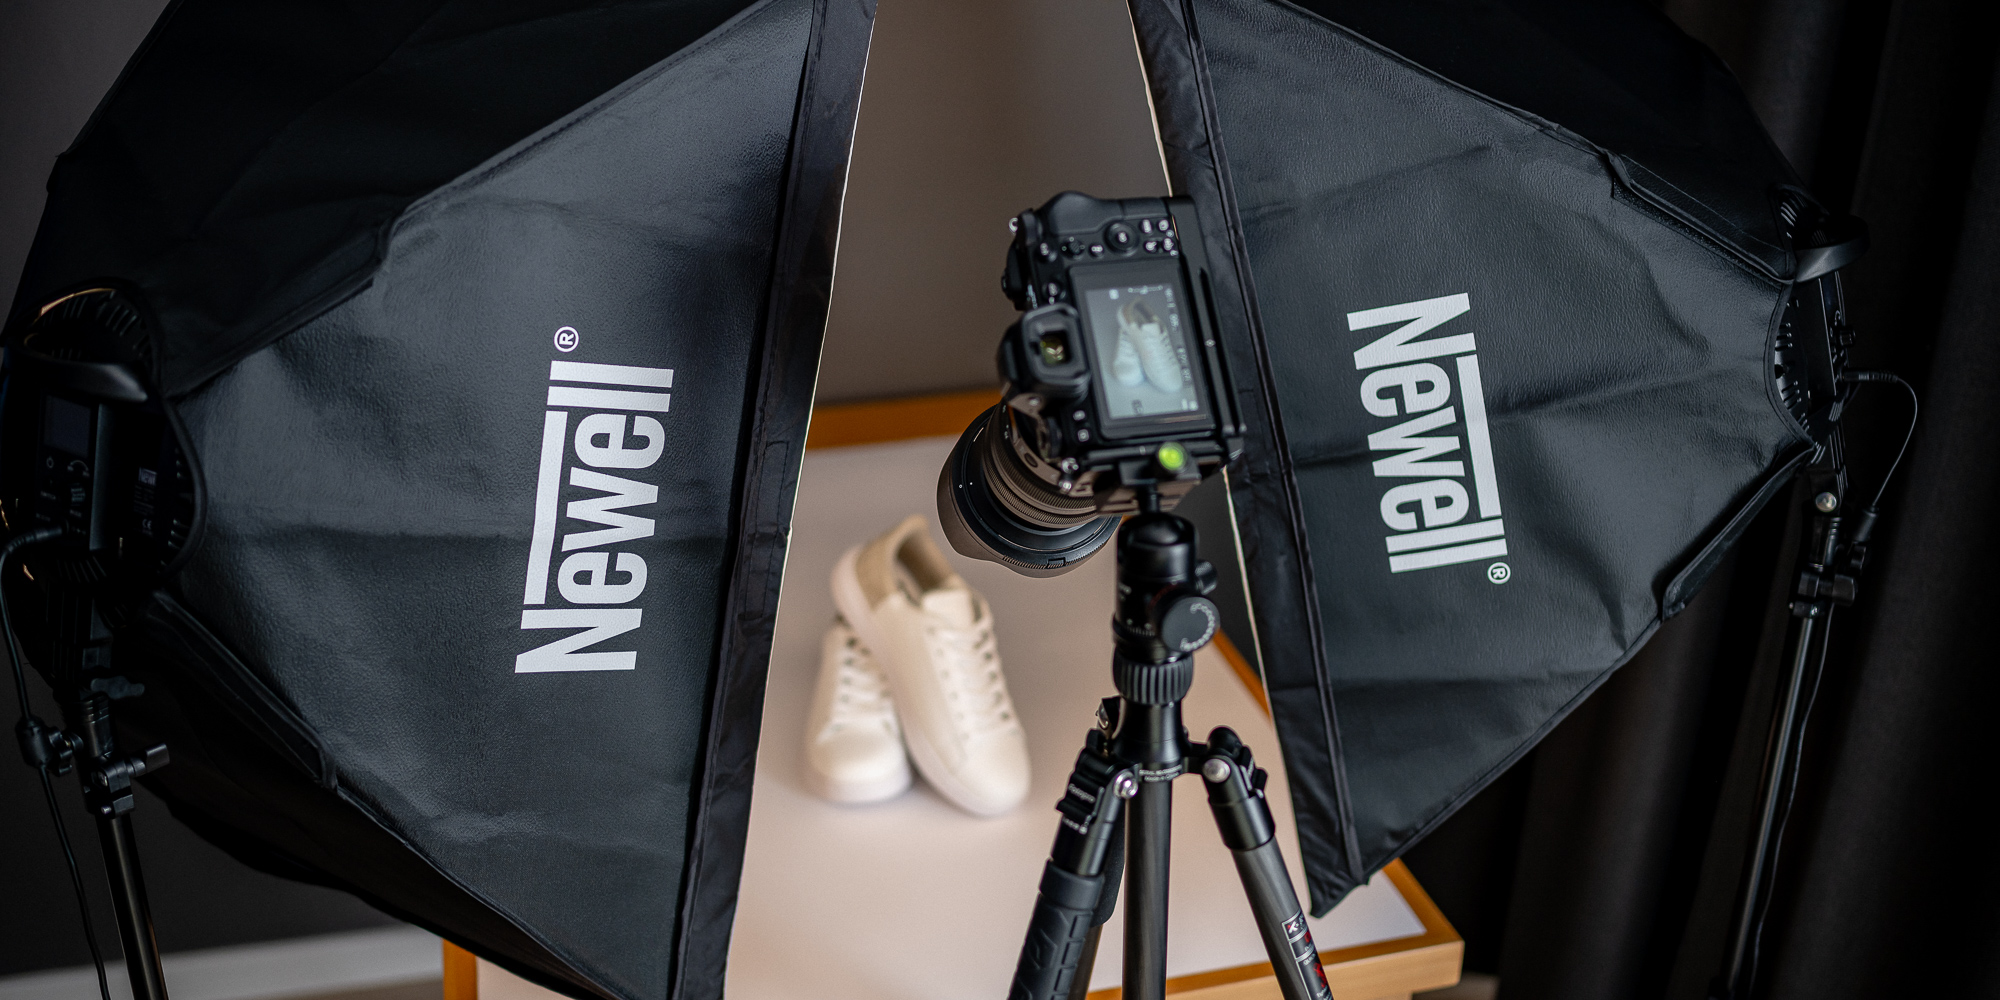
When it comes to light, two lamps equipped with softboxes will be an ideal starter set. Who knows, if not one that will provide everything you need to make better and better packshots for many years to come, without having to replace the equipment with new ones. Our suggestion is the Newell Sparkle LED lighting kit for product photography.
Do you want to take your own photos of the products you sell in your online store? Do you collect items that need to be immortalized in the form of professional photographs? Or maybe you want to get rid of shadows from your photos? One purchase is all it takes to create shadow-free packshots and aesthetically pleasing photographs used on auction sites, and online stores.
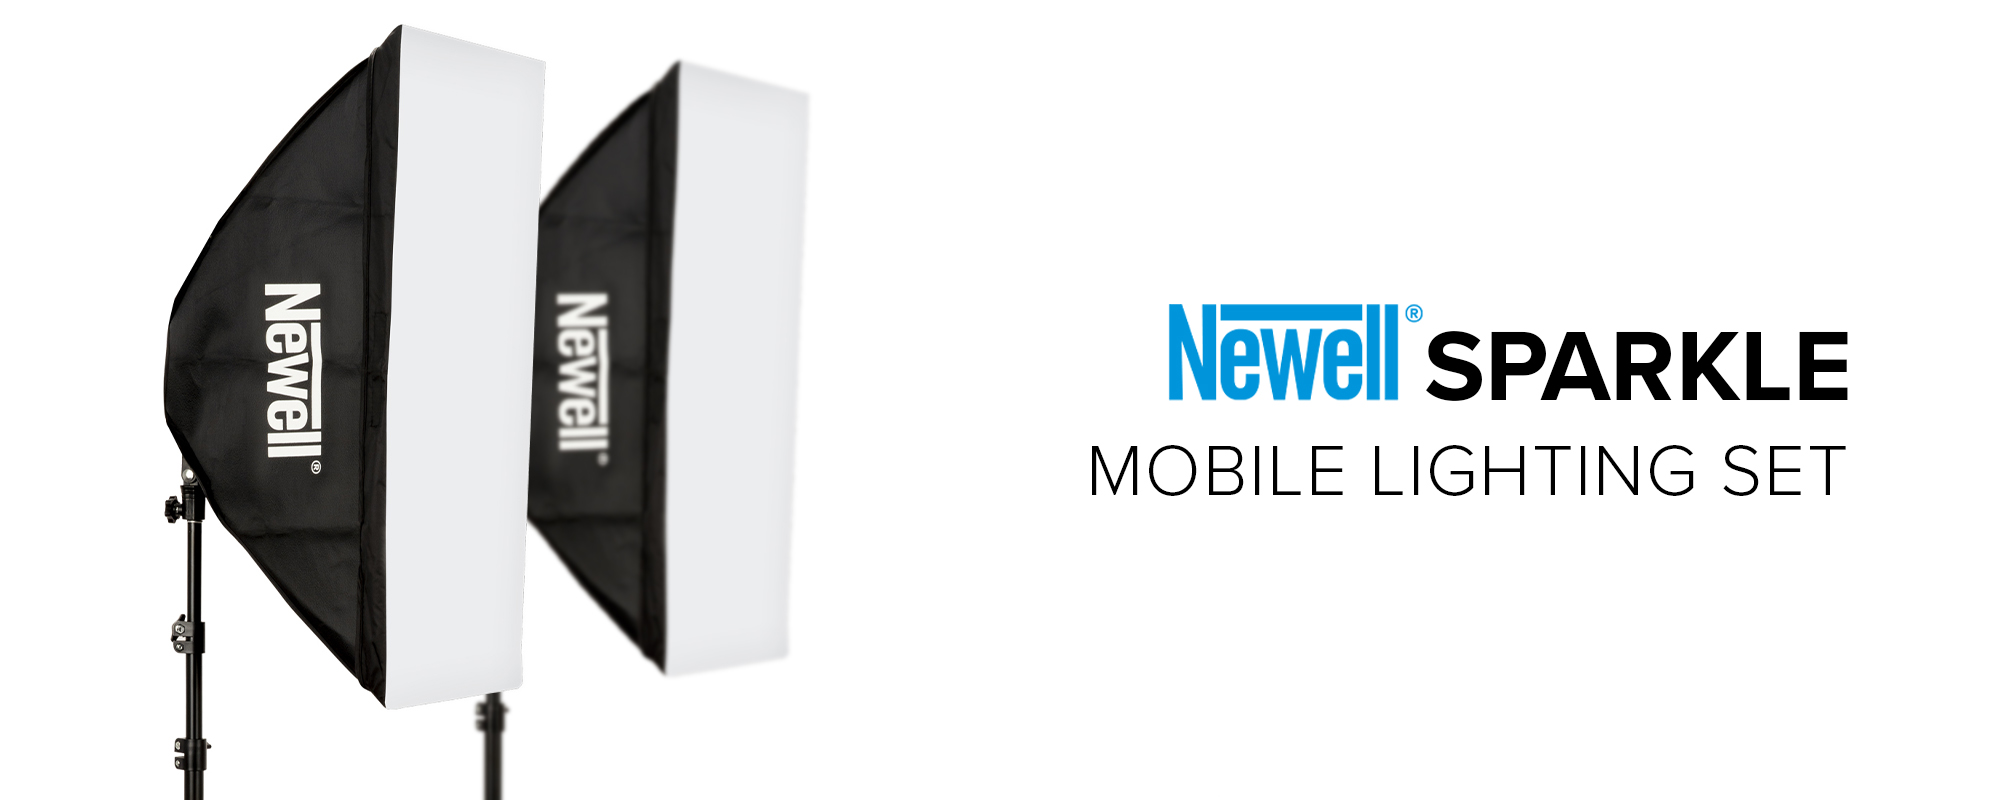
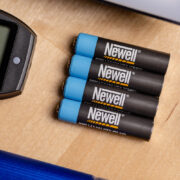
The kit includes 2 Newell Sparkle LED lights, 2 power supplies, 2 tripods, 2 50 x 70 cm softboxes with covers, and a carrying bag. It only takes a few minutes to set up a portable studio anywhere. It will be the best alternative to sets that use studio bulbs that generate a lot of heat. The maximum light output of each LED panel is as much as 1650 lux. The lamps also offer color temperature control and the option to be powered by rechargeable batteries. If you don’t want to overpay and get all the necessary tools with one purchase, choose a lighting kit with Newell Sparkle LED lights.
Softbox
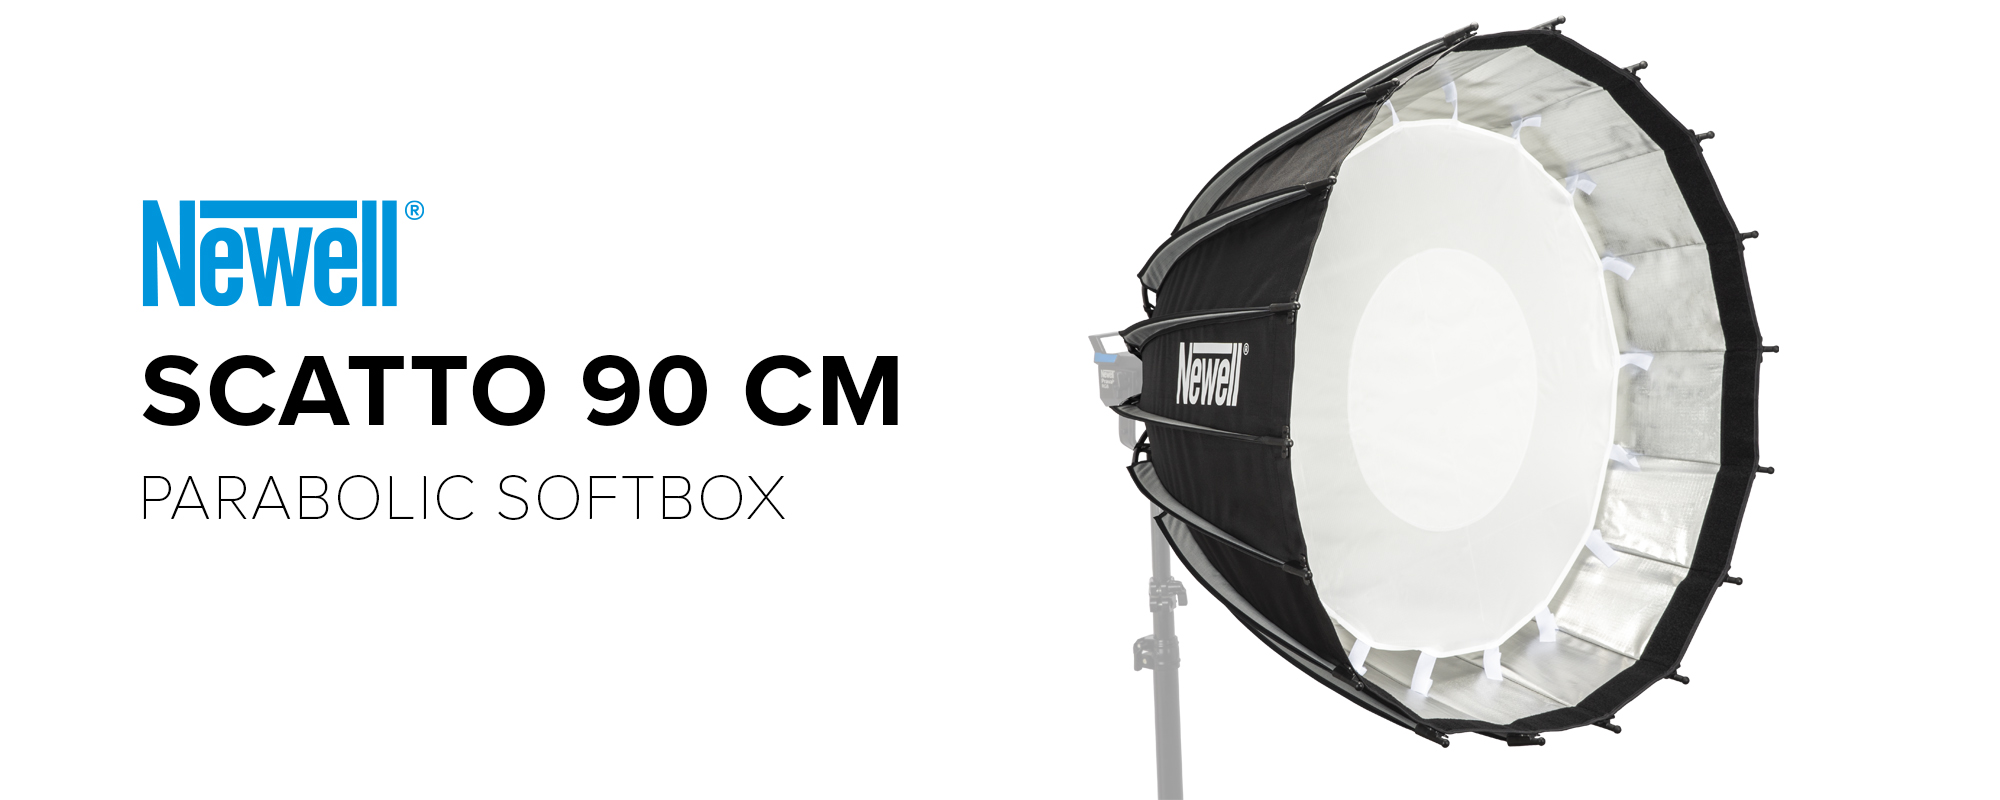
In the Newell Sparkle kit you will, of course, find the necessary softboxes, but as is usually the case – the appetite grows as you eat. If you dream of a parabolic softbox, here is our next suggestion.
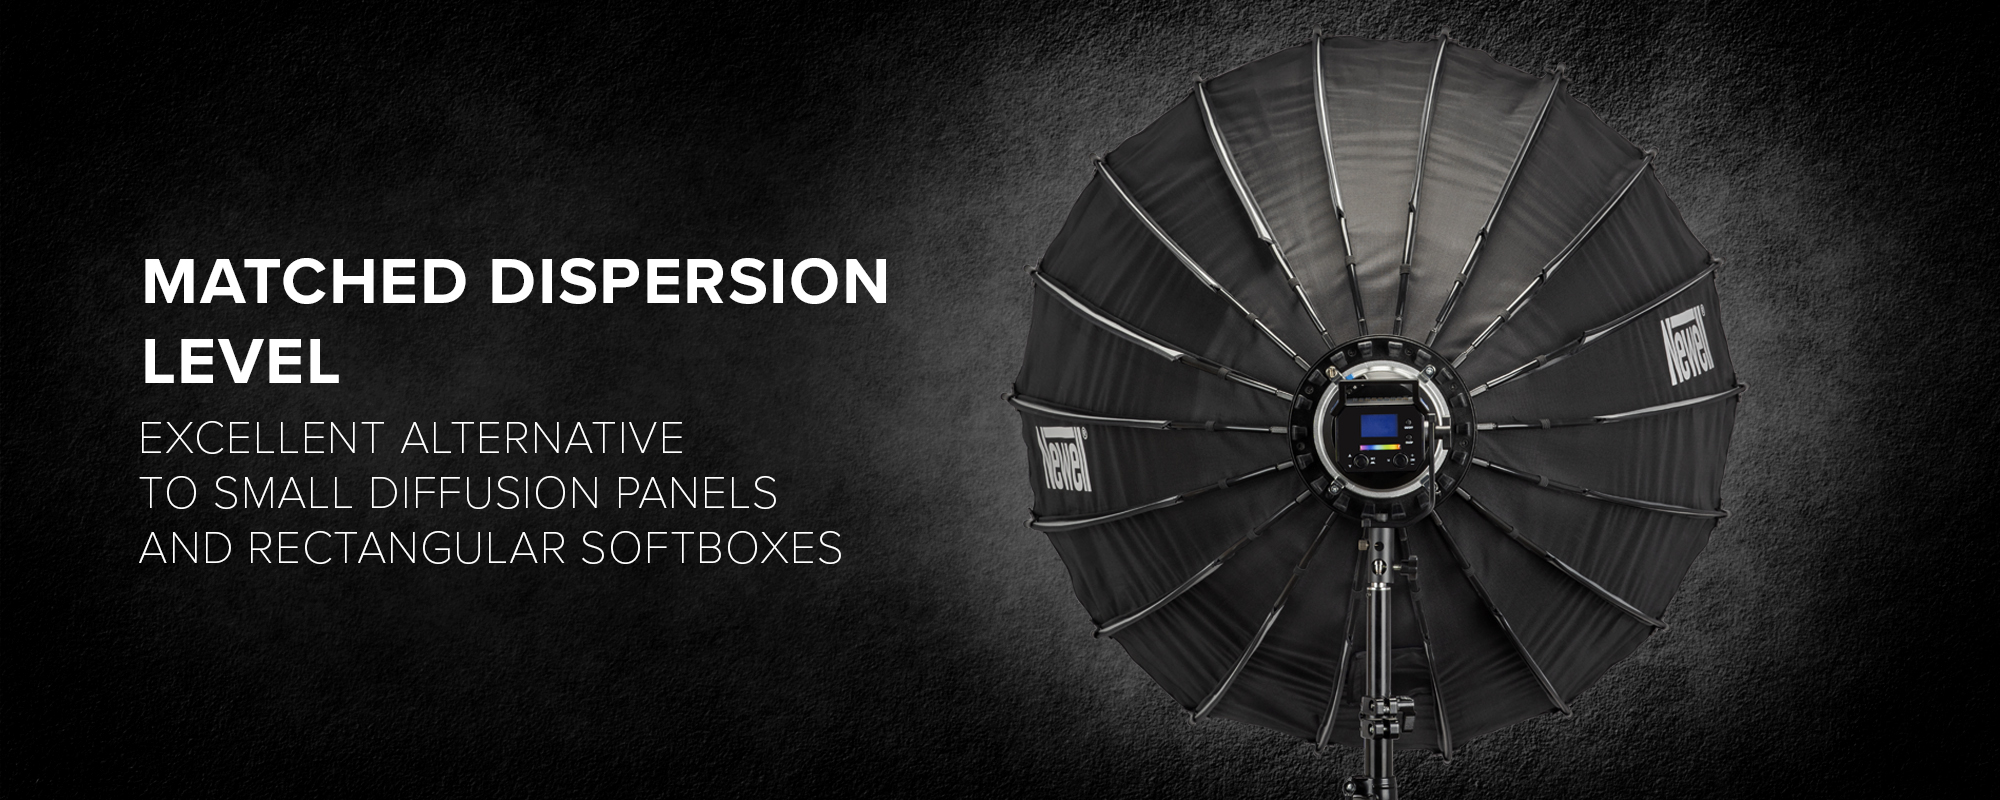
Newell Scatto has a diameter of 90 cm. Its interior is filled with a special silver coating, which acts as a reflector. The softbox will allow you to soften the light emitted by the flash by eliminating deep and harsh shadows. Importantly, the modifier is equipped with the popular Bowens mount, which ensures compatibility with most studio lamps on the market. The impressive dimensions will allow you to precisely illuminate selected parts of the frame, as well as conveniently diffuse and soften the light. Additional modifiers included in the set – diffusers, and grid – will help with this. The use of silver material inside the dome will provide very good reflection, which minimizes light loss. Proper contrast and light direction will be provided by the included grid.
Beauty Dish
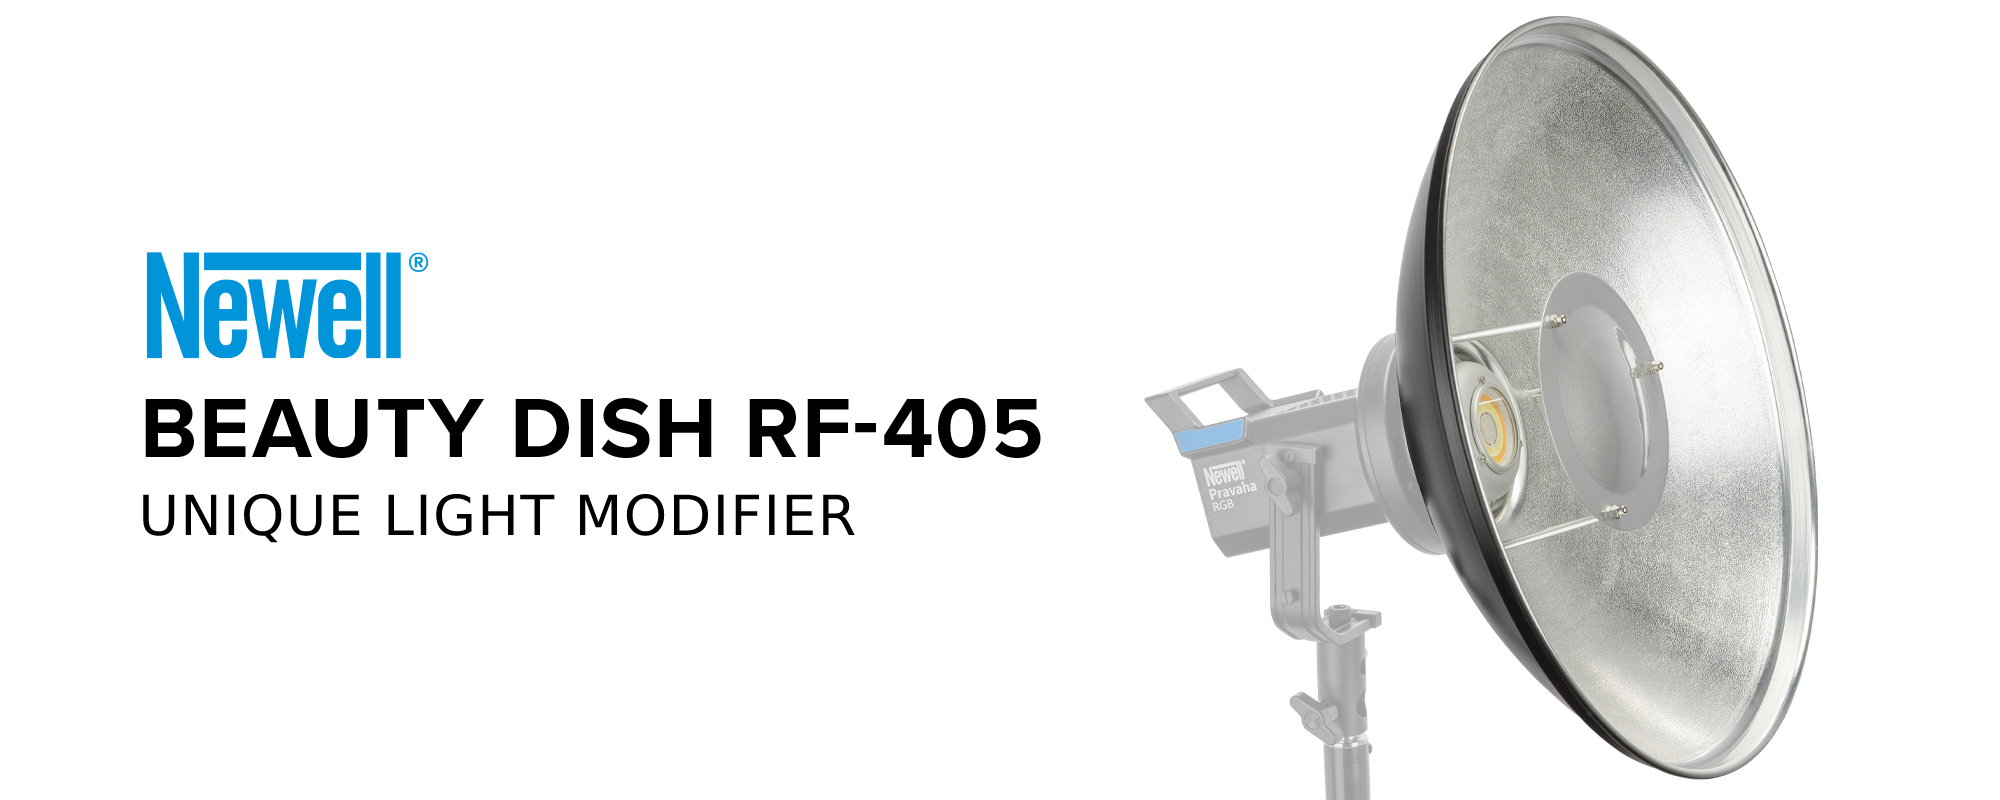
Another modifier that you may find useful, is because of the name, primarily associated with the beauty industry. However, it turns out that it will be invaluable support in product photography. With the Newell Beauty Dish, your photos will be even more polished, and you will gain another way to better control the light.
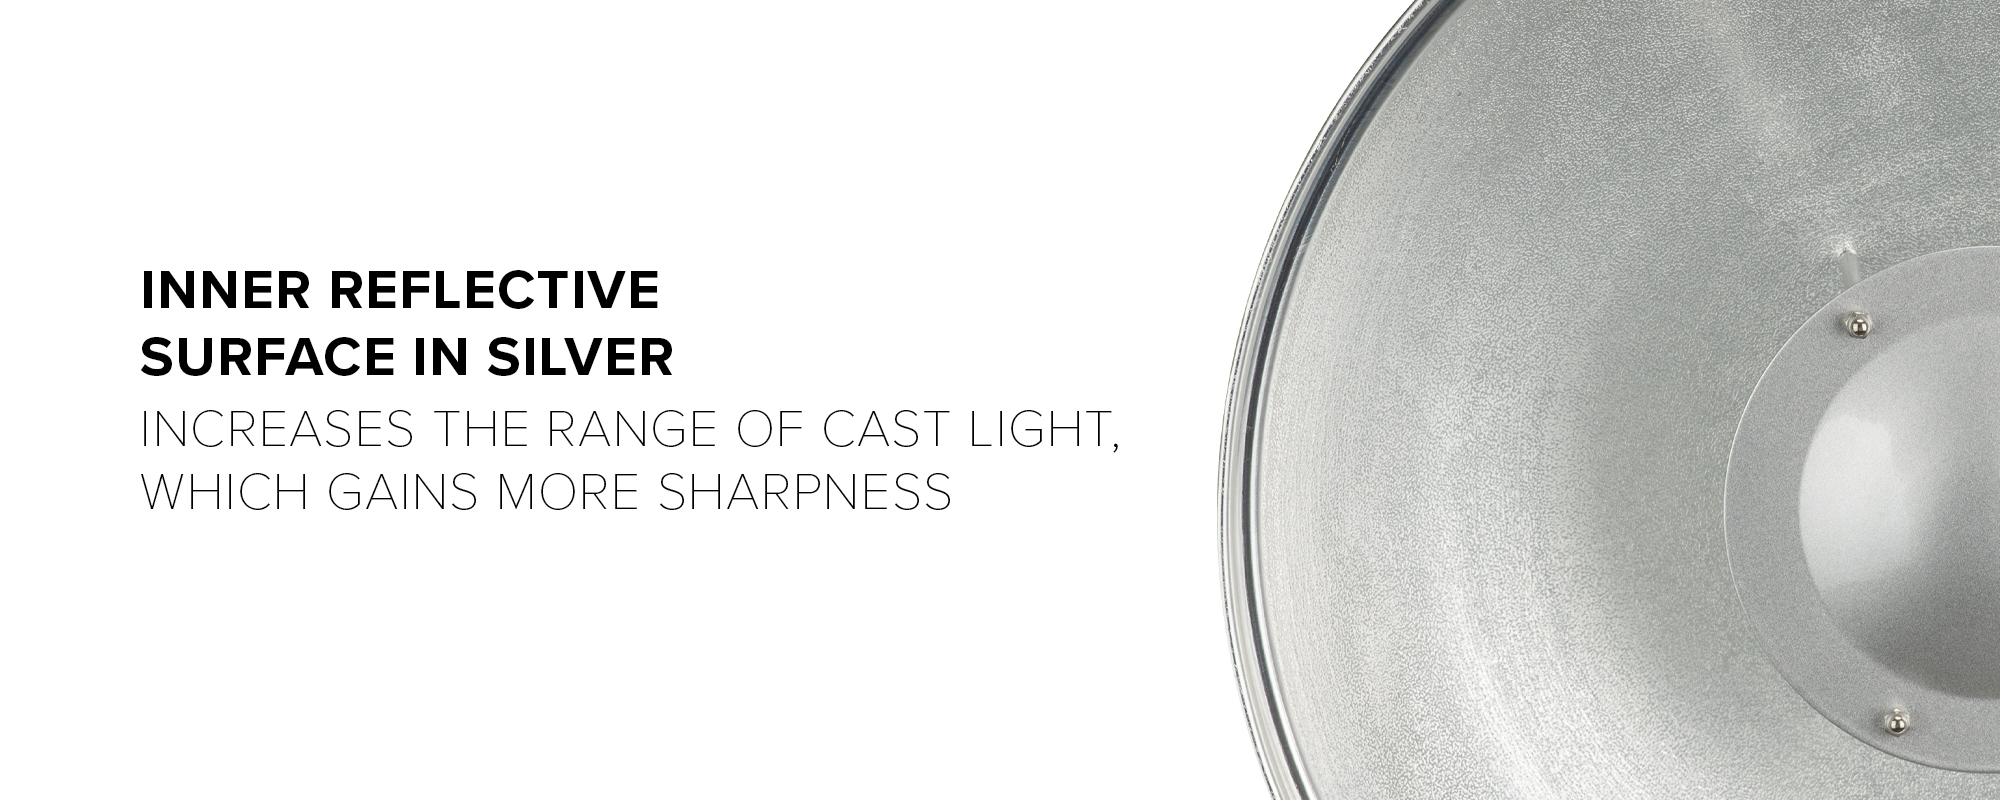
The unique reflector-shaped canopy allows you to achieve stronger shadows and greater contrast. When using a strong light source, you’ll highlight material textures even better thanks to the silver reflective surface.
Barn Doors
The last modifier we would like to recommend to you is the Newell BD-200 barn doors. They provide additional possibilities for working with light, giving you more control over the beam. The 4-wing design will allow you to forget once and for all about pieces of cardboard hastily connected to your lights with “silver tape”. The black finish will protect your frames from unwanted glare, and the strong hinges will allow you to precisely direct the light beam.
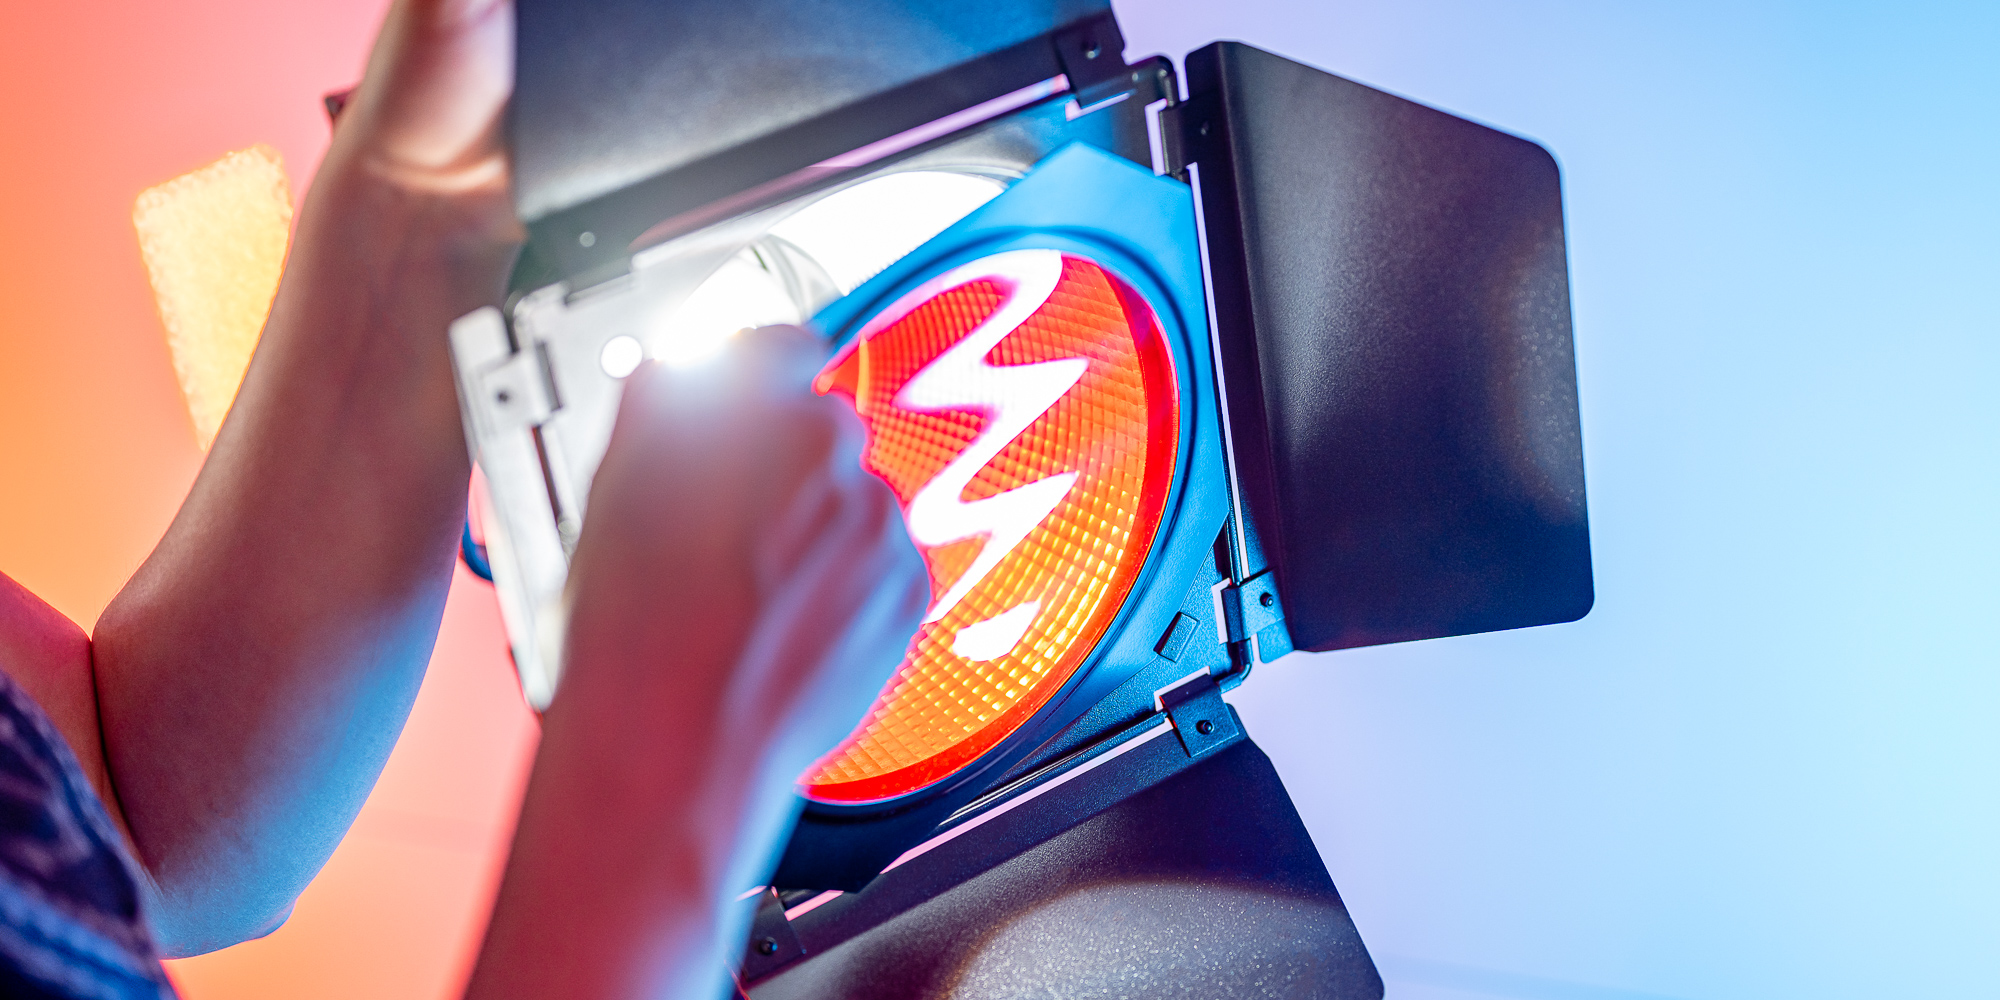
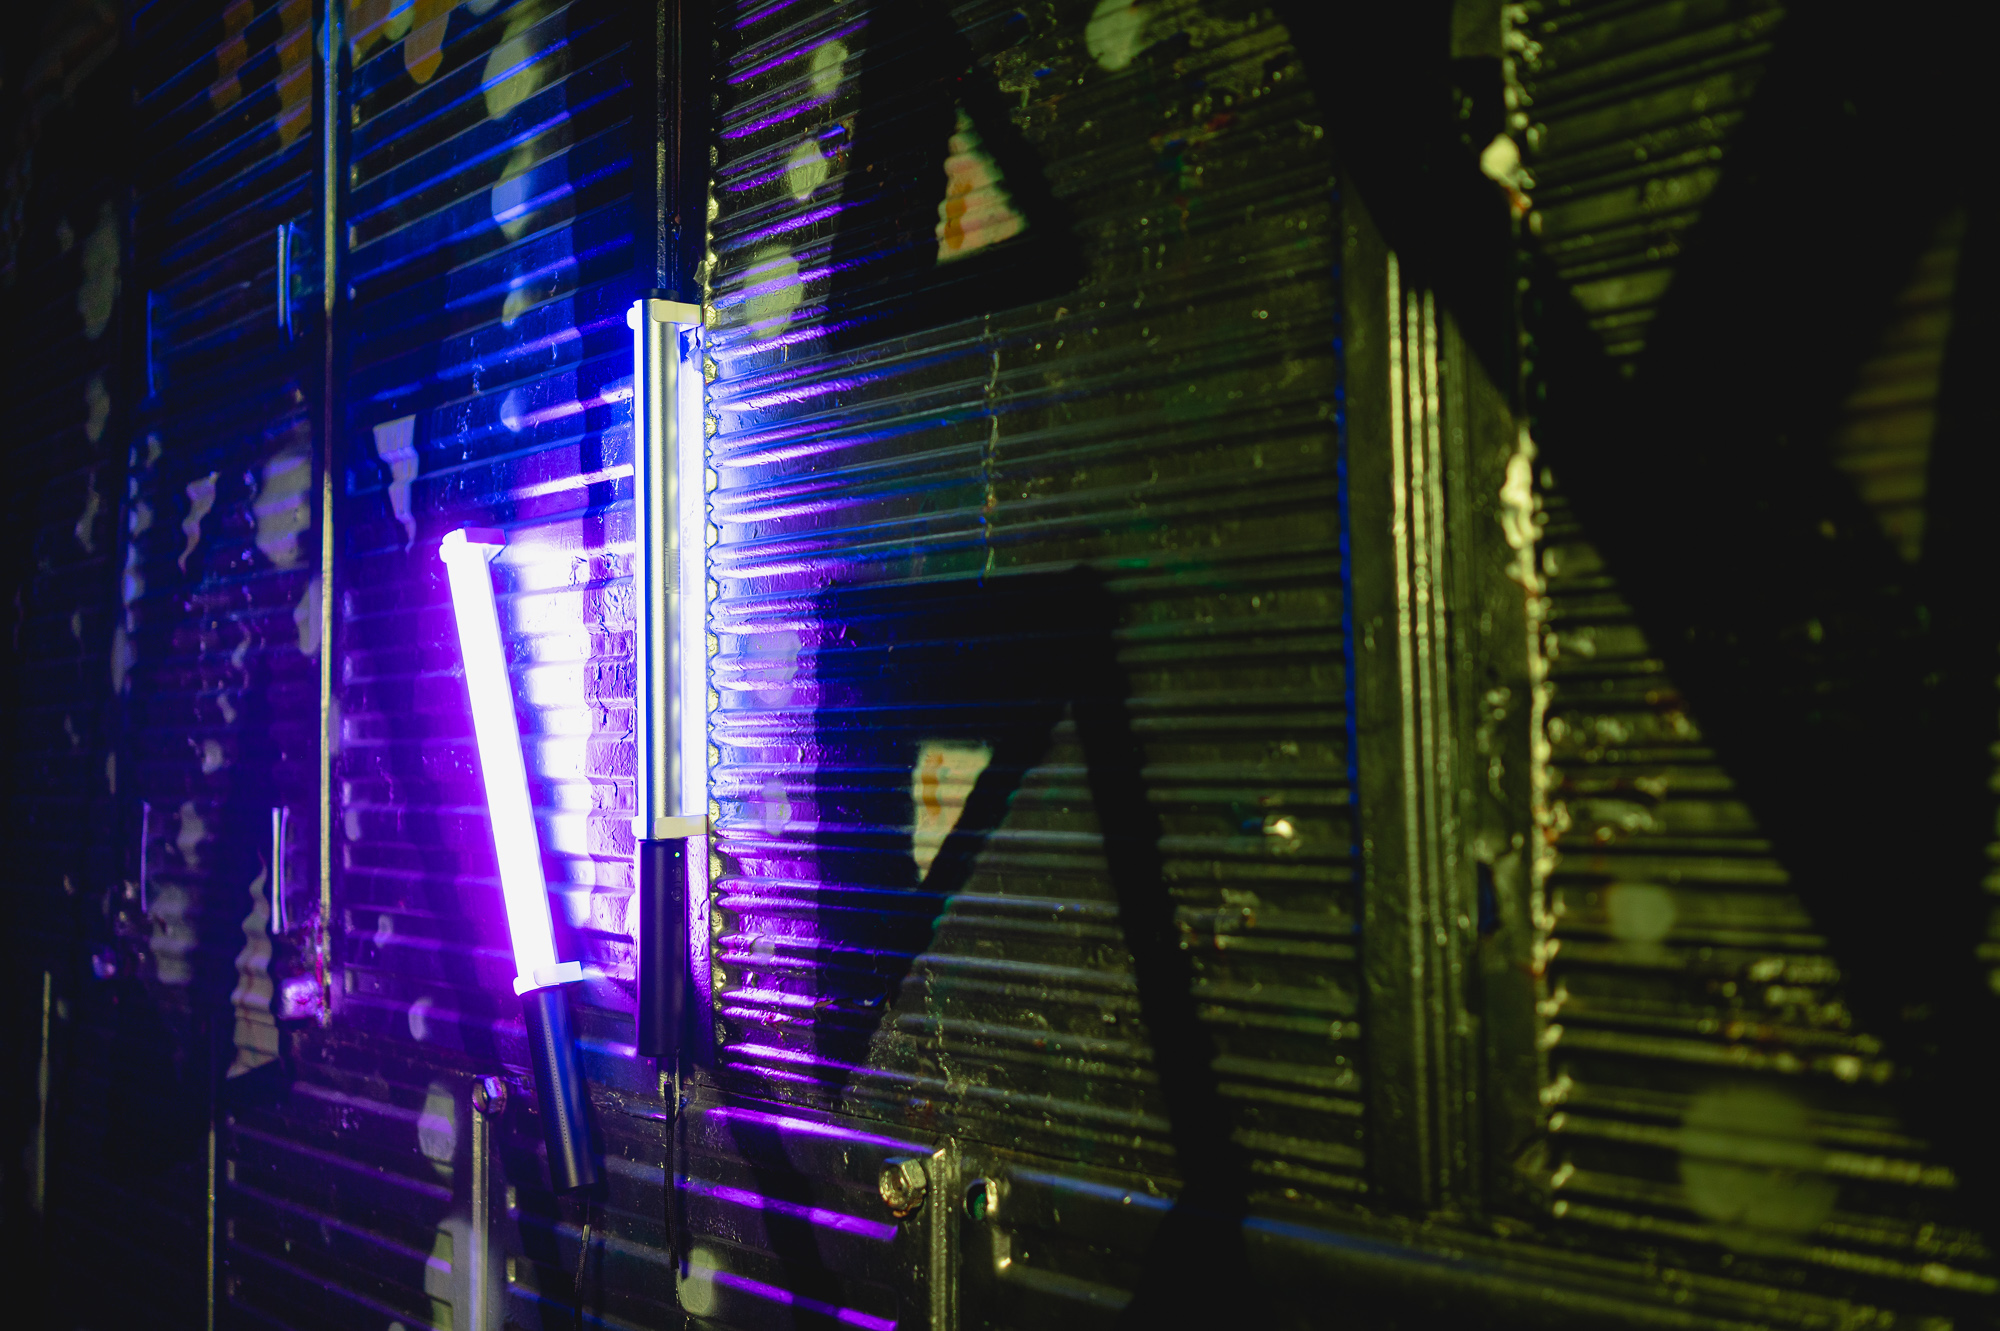
However, that’s not all! Included with the modifier you will find 4 frames with built-in effect films – yellow, green, blue, and red. Thanks to the combination of magnets and hooks, you will quickly install the selected filter in the front of the gate. The foils will allow you to create unusual backgrounds, spice up lookbooks or emphasize certain emotions. Experimenting with colored light will allow you to create even more interesting product photos, as well as develop your workshop and learn new skills!
Packshots for dummies
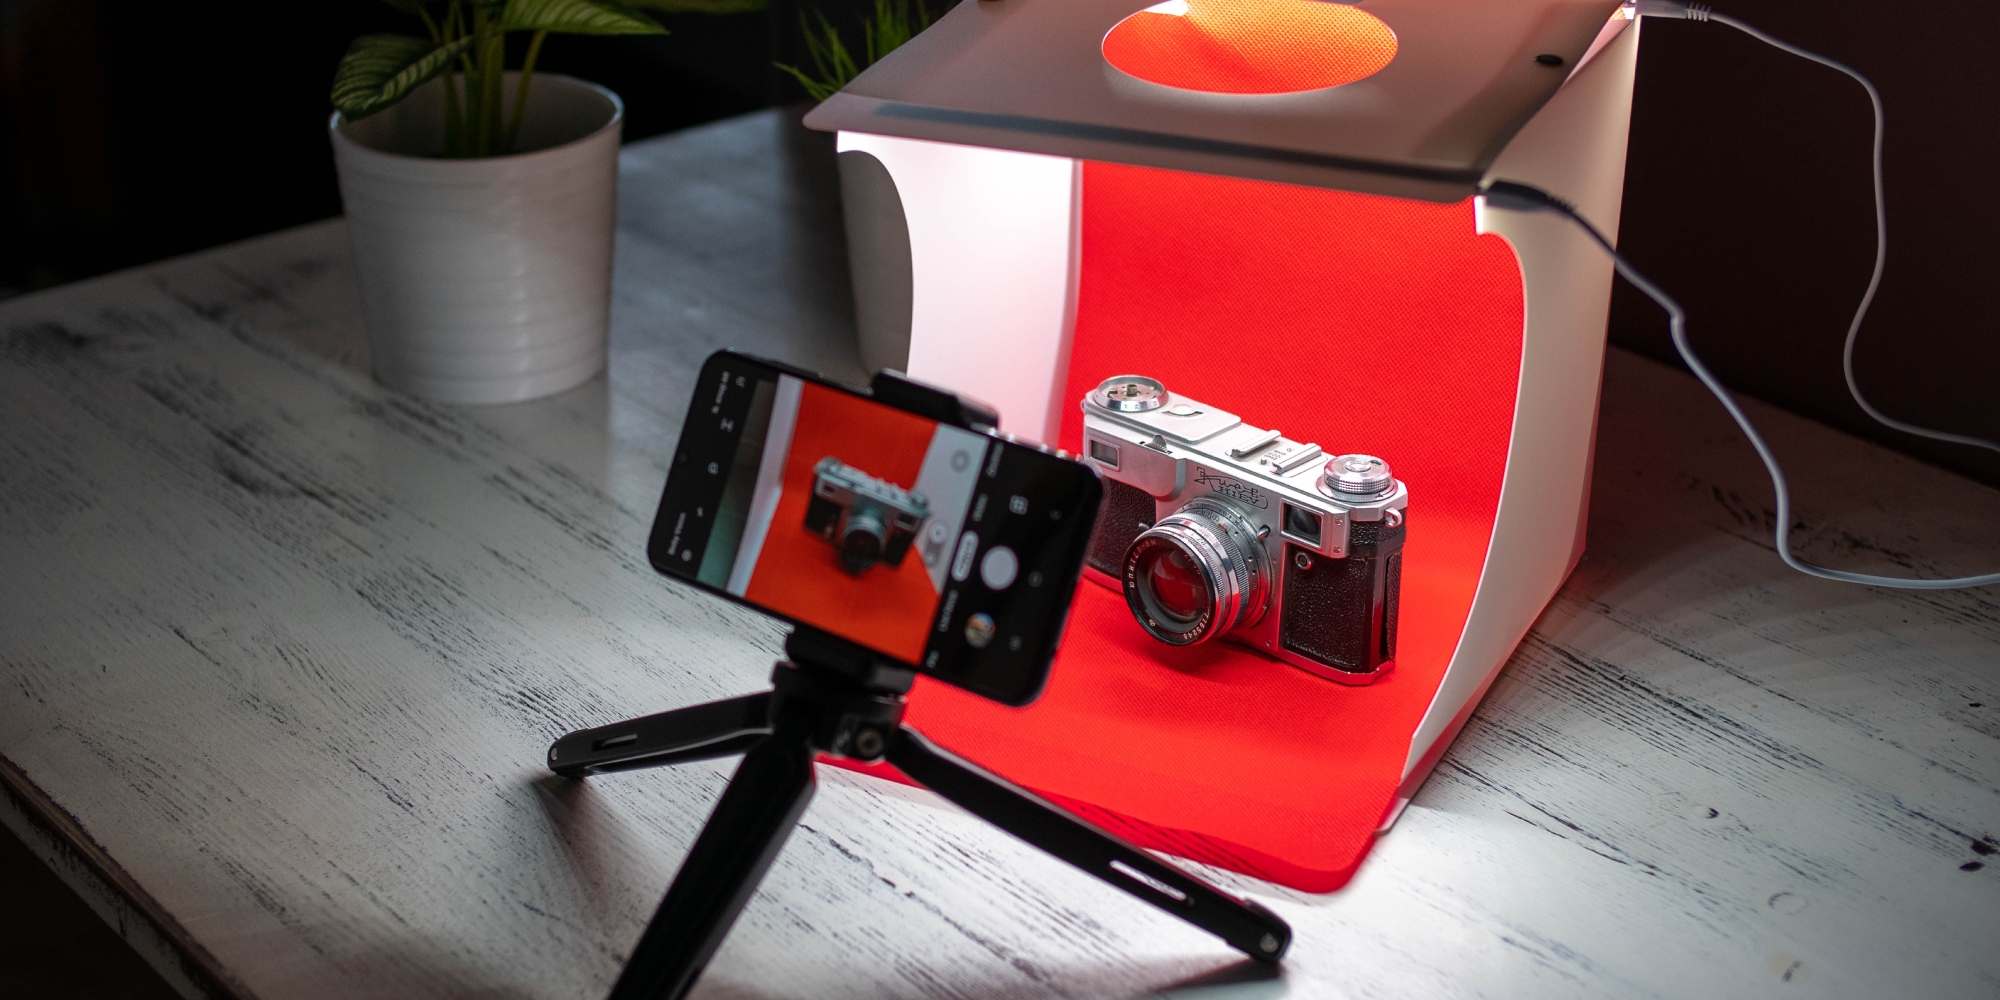
Finally, we have one more recommendation for you. If you are limited by space, care about making repetitive packshots quickly, and don’t have time to get into the ins and outs of product photography, a shadowless tent will be a perfect choice. An expandable cube with its own LED lighting and a camera is all you need to become independent of tripods, softboxes, and traditional lights.
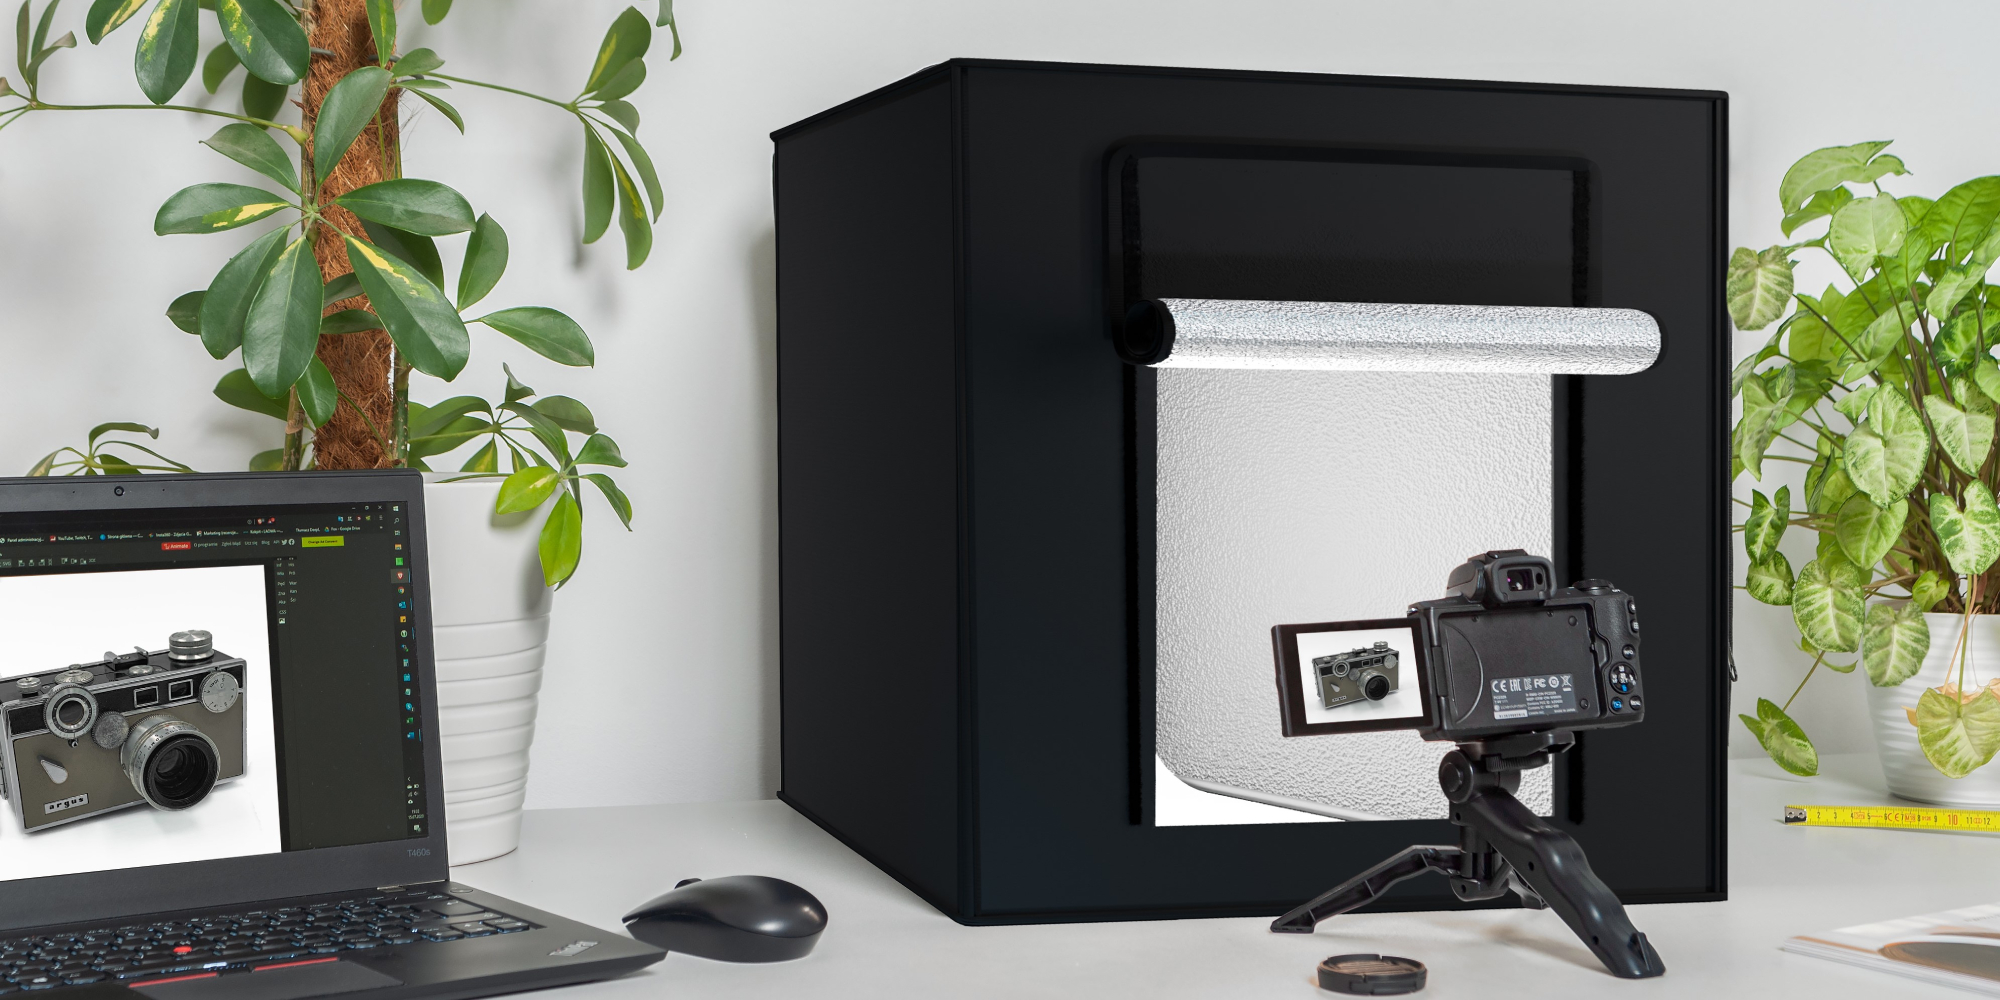
In our offer you will find tents of 3 different sizes:
- Newell M20 – 24 x 23 x 22 cm
- Newell M40 II – 44 x 44 x 44 cm
- Newell M80 II – 84 x 84 x 84 cm
The shadowless tents were created specifically for product photography. They provide ultra-mobility and are great for photographing small subjects. Each set offers energy-efficient LEDs that will perfectly illuminate products, as well as multi-colored backgrounds. You simply put the product inside, turn on the light, and set up your camera! It couldn’t be any simpler!
Have questions about using our products in product photography? Write to us on Facebook or Instagram. We’ll be happy to help!